
You have your new Squarespace website (affiliate link) — Congrats!
Now how do you make basic changes when you need to? Here’s a brief guide to help you out. You can also reference the Squarespace support documentation.
First, make sure you are logged into your website. To do that head on over to https://account.squarespace.com/ and log in using your credentials.
1. Edit existing content
1.1. Edit text
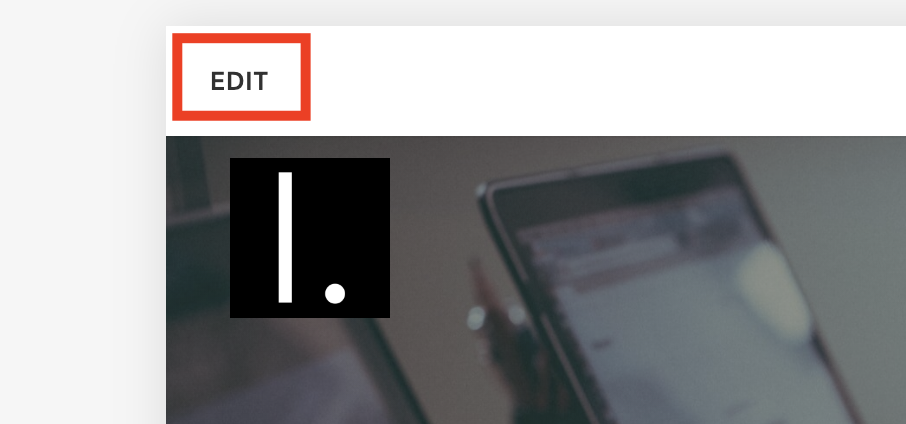
To edit an existing page, navigate to that page and click on the EDIT button on the top left (you can also just double click anywhere on the content area of the page). This will take you to Edit Mode.
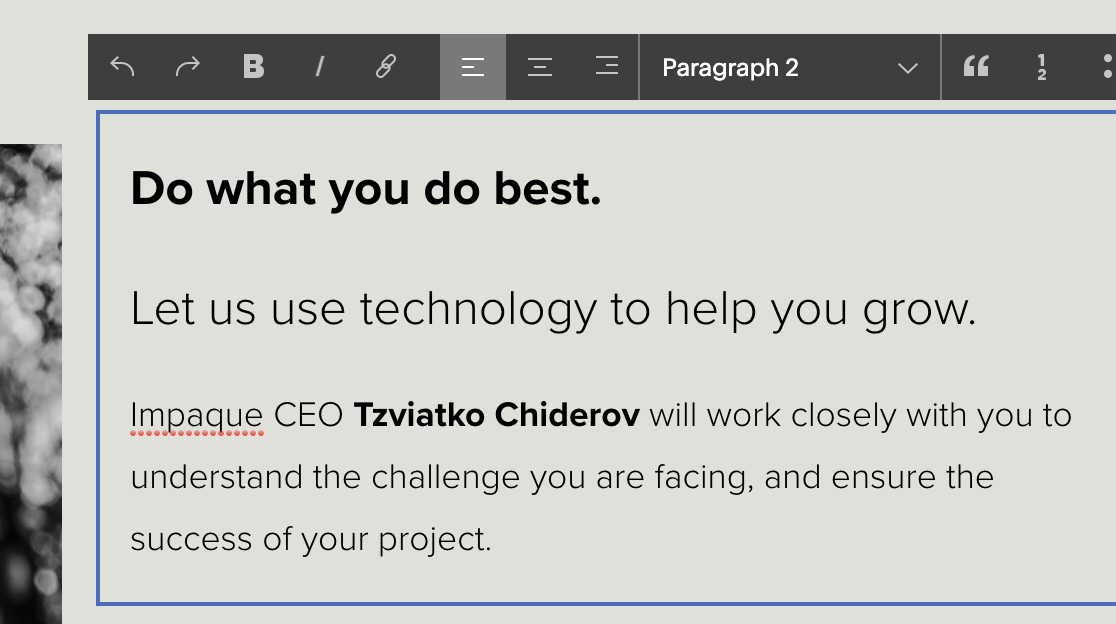
1. Once you are in Edit Mode, click on the text you’d like to edit and make your changes.
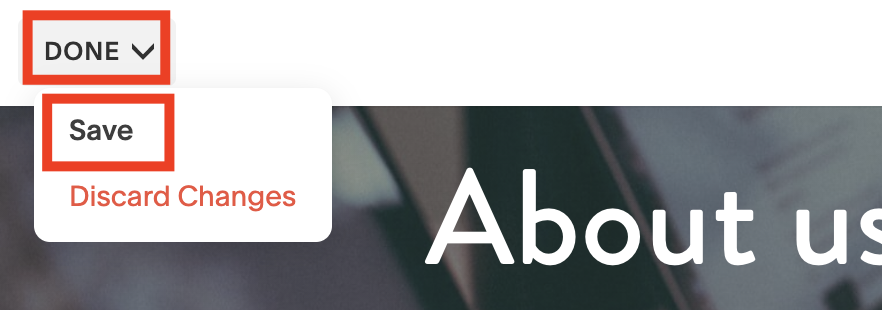
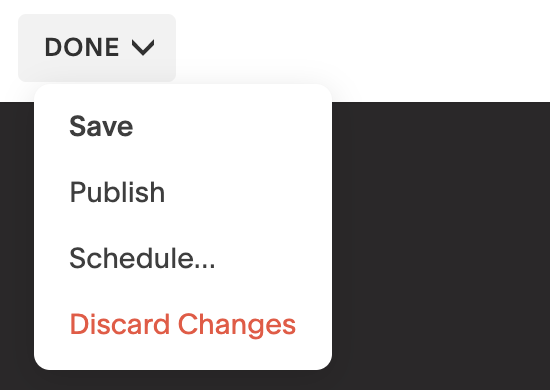
2. When you are done with your changes, click on DONE on the top left and select Save. Your changes will be saved and published immediately.
1.2. Edit images
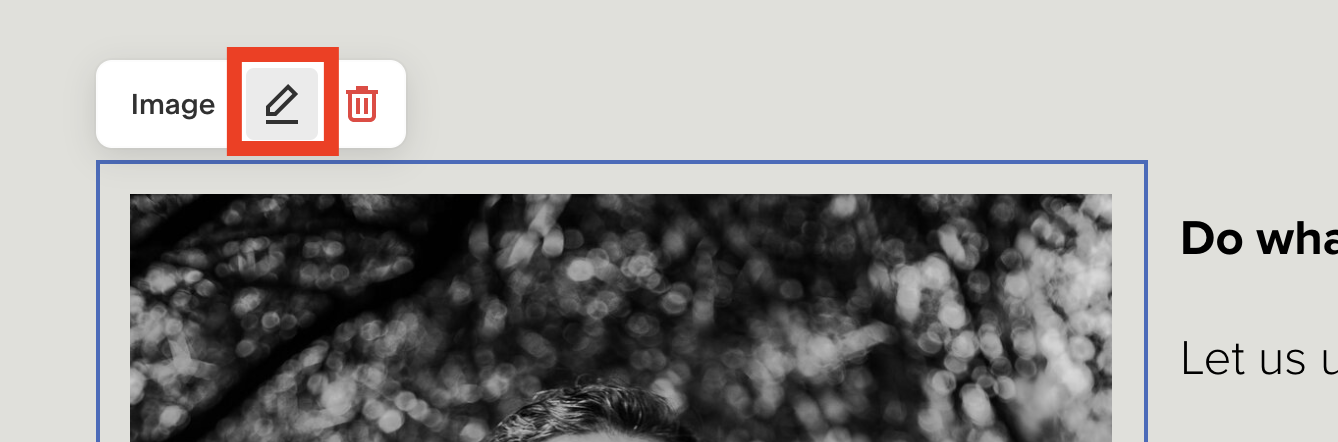
1. Once you are in Edit Mode, double-click on the image you’d like to change, or hover over the image and click on the pencil icon.
2. From the image pop-up click on the trash can icon to delete the existing image.
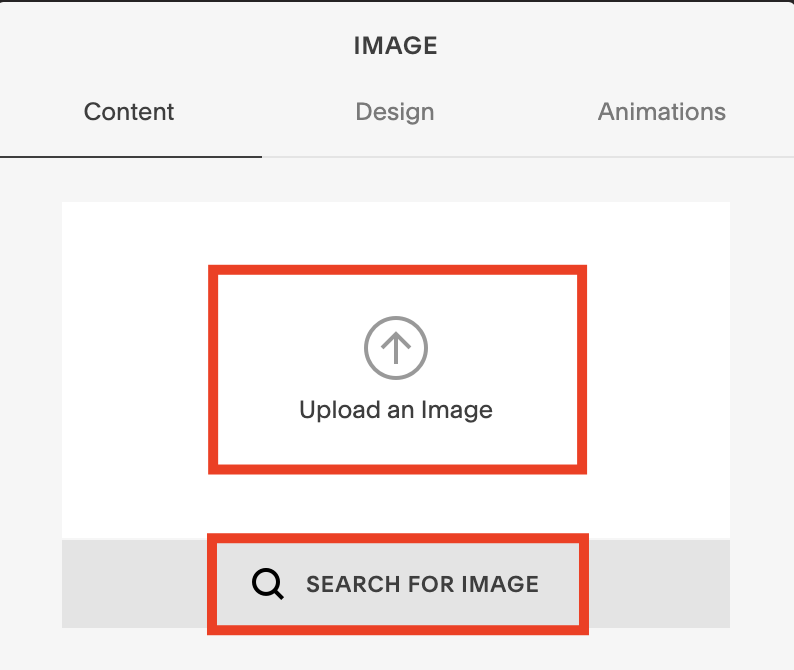
3. Now you’ll be able to Upload an Image from your computer. You can also click on SEARCH FOR IMAGE to search images you’ve already uploaded.
4. When you are done with your changes, click on DONE on the top left and select Save. Your changes will be saved and published immediately.
1.3. Edit page section background image
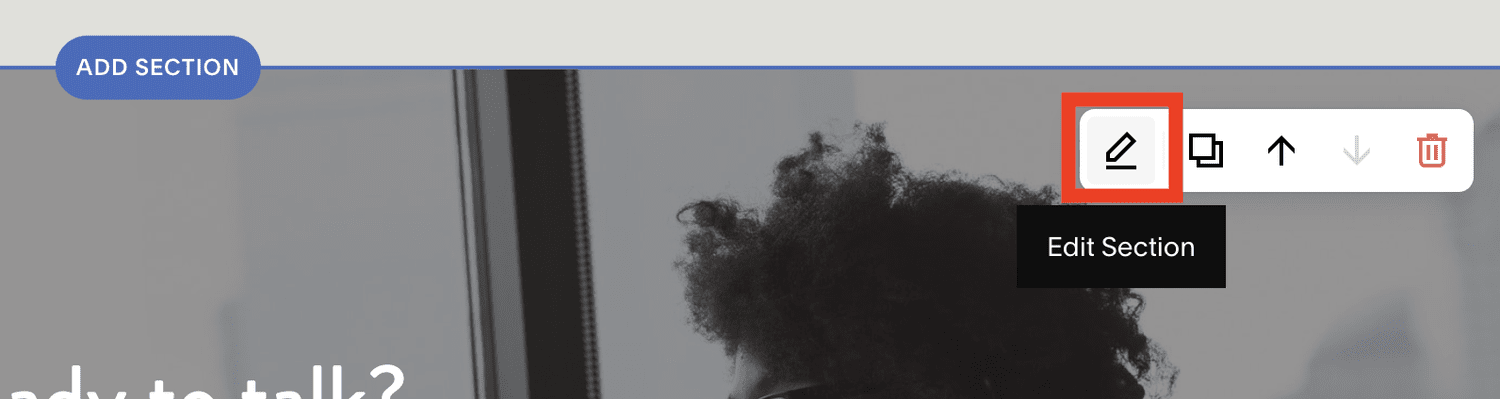
1. Hover over the section with your mouse and click on the pencil Edit Section button.
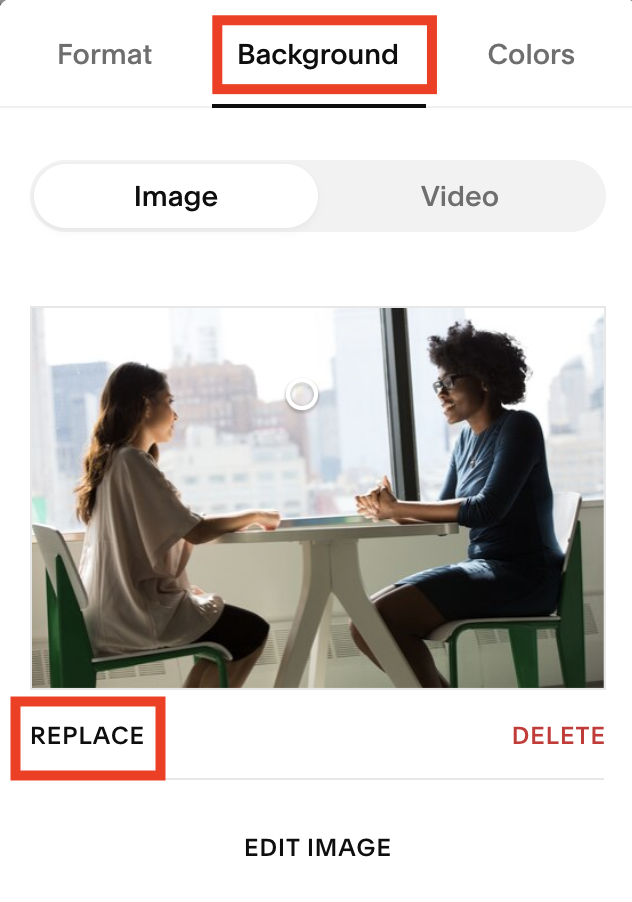
2. Click on the Background tab and select the REPLACE button to replace the background image.
3. When you are done with your changes, click on DONE on the top left and select Save. Your changes will be saved and published immediately.
2. Add new content
2.1. Add new element to a page
1. When you are in Edit Mode hover over the part of the site where you’d like to add a new element. You’ll see a horizontal line appear, with a “+” icon in the middle. Click on the icon to add a new element in that position.

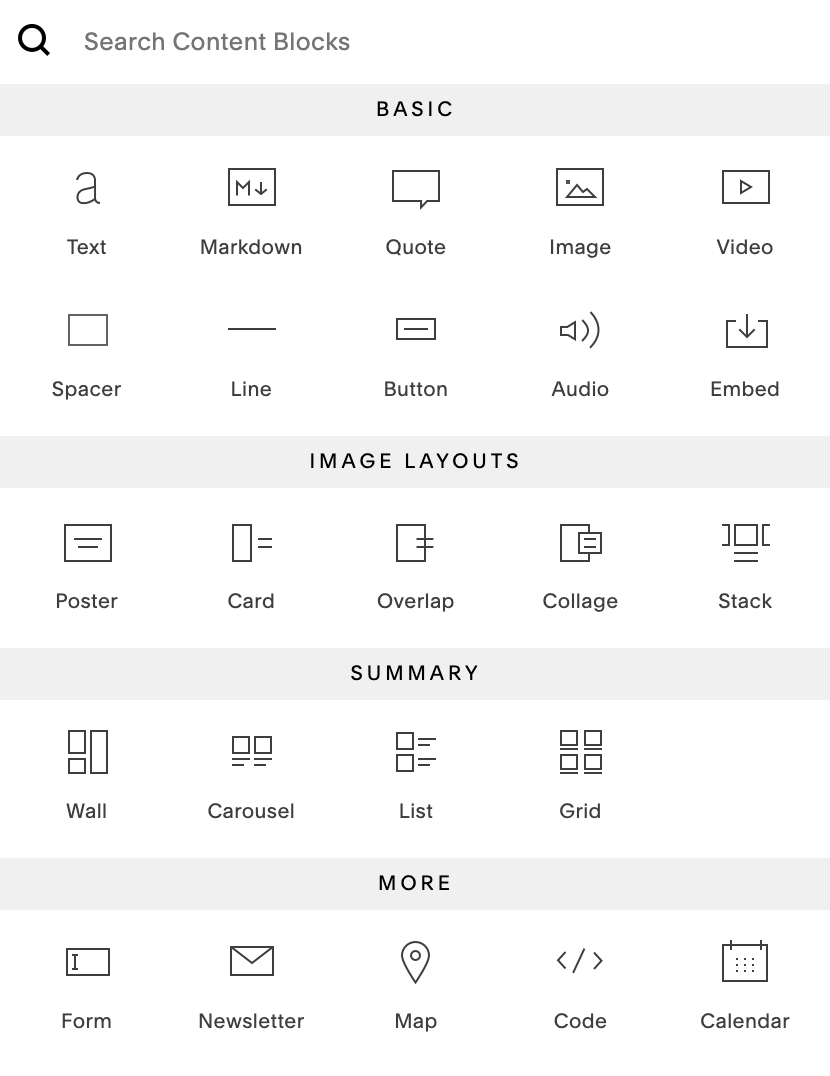
2. Choose the type of element you’d like to add from the list.
3. Enter any additional settings according to the element you’ve selected.
4. When you are done with your changes, click on DONE on the top left and select Save. Your changes will be saved and published immediately.
2.2. Add new section to a page
1. When you are in Edit Mode hover over the bottom of the section underneath which you’d like to add your new section. Then click on the blue ADD SECTION button in the middle of the page.

2. Choose Add Blank to add a blank section or select from one of the predefined sections.
![]()
3. Add any additional content to your new section.
4. When you are done with your changes, click on DONE on the top left and select Save. Your changes will be saved and published immediately.
2.3. Add new page
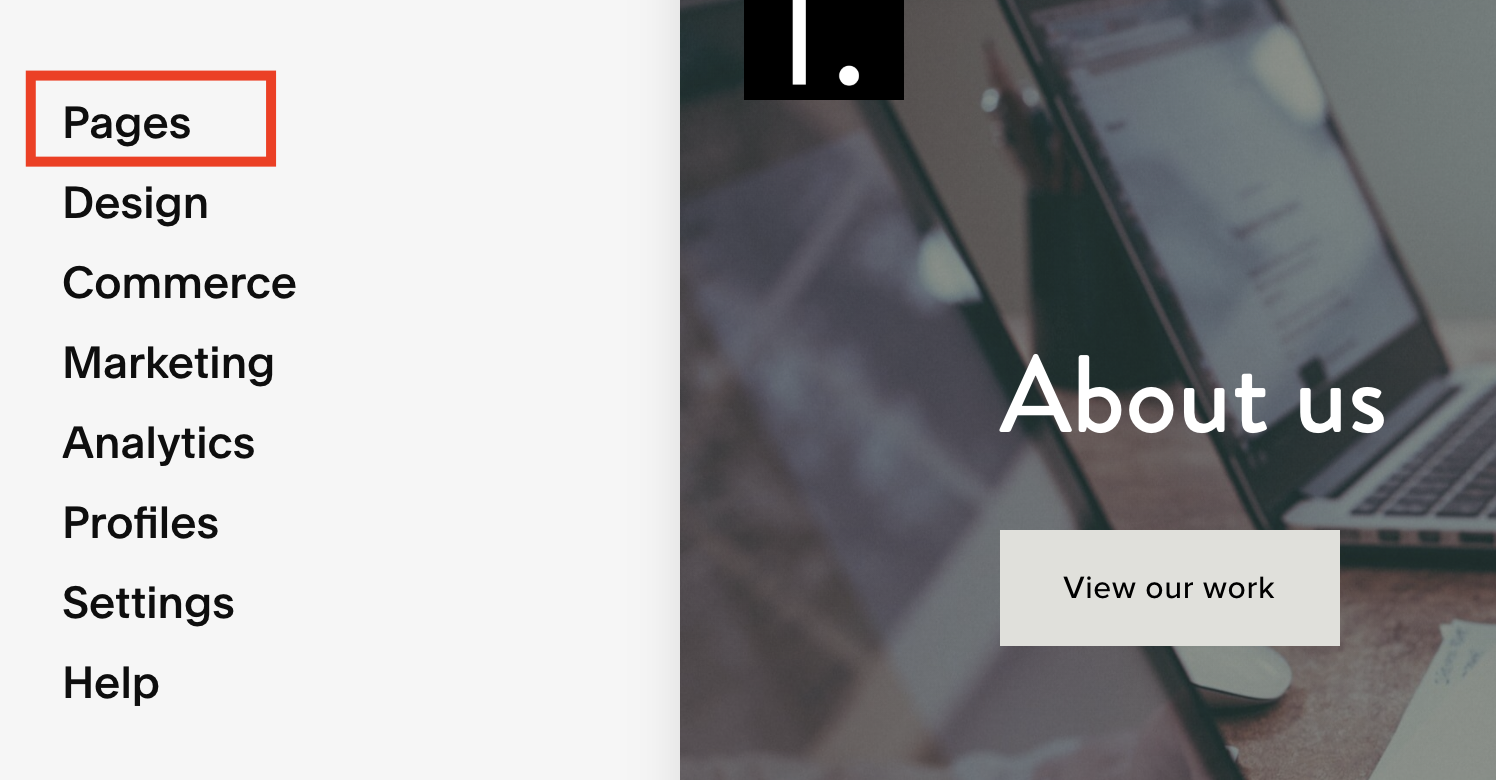
1. Once you have logged in to the website backend, click on the Pages link on the left.
2. Click on the “+” button and select Blank Page from the list.
![]()
3. Now you can add sections and content/elements to your page.
4. When you are done with your changes, click on DONE on the top left and select Save. Your changes will be saved and published immediately.
2.4. Add new blog post
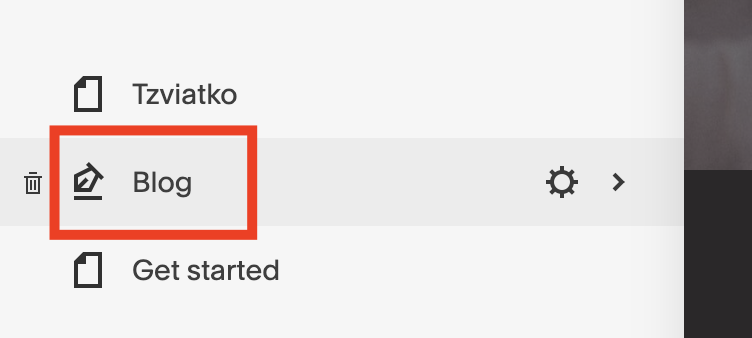
1. Once you have logged in to the website backend, click on the Pages link on the left and select Blog from the list.
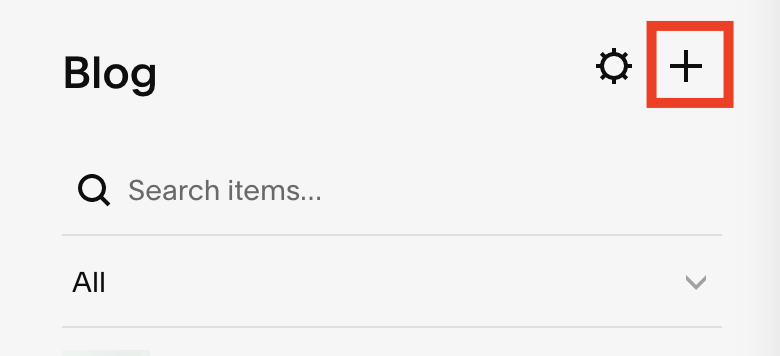
2. Click on the “+” button to add a new blog post.
3. Enter your blog post title and content. The first image you add will be considered the cover image for that blog post.
4. When you’re done you can click on DONE on the top left and choose to either Publish the blog immediately or the Schedule it to go live at a future date/time. You can also click on Save to save the article as a draft.
3. Change settings
3.1. Change access permissions (add a new user)
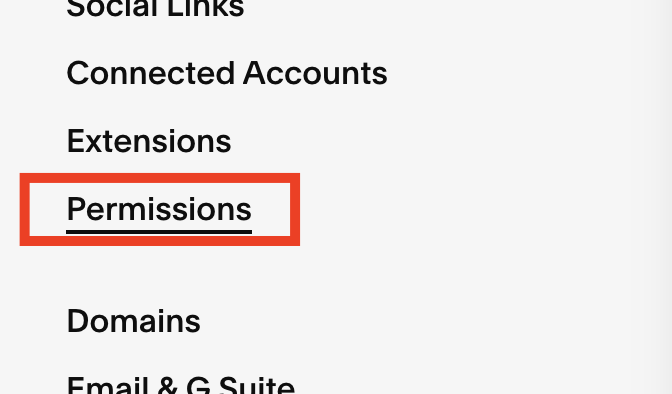
1. From the left navigation of the website backend click on Settings, then choose Permissions.

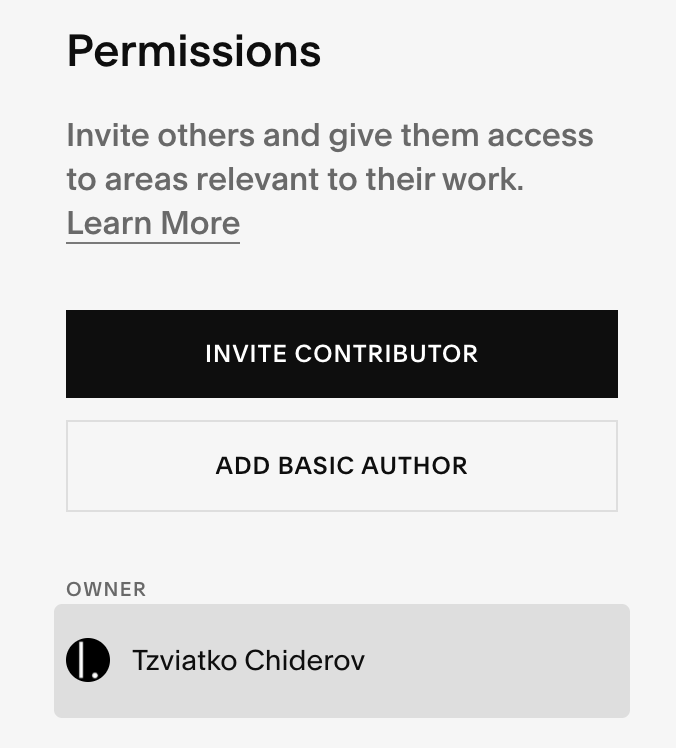
2. Here you can invite new contributors or you can click on a current user to remove or change their permissions.
If you have any questions about your Squarespace website, or need to make more sophisticated updates, please reach out!
If you don’t yet have a Squarespace website, consider creating one (affiliate link), or contact me below for help!
Need a hand with this?
Impaque helps mission-driven organizations put technology to work. Tell us about your project — we'd love to help make it happen.